
EScan
Version 0.4 · Toshiki Sasabe (Janbe)
Description
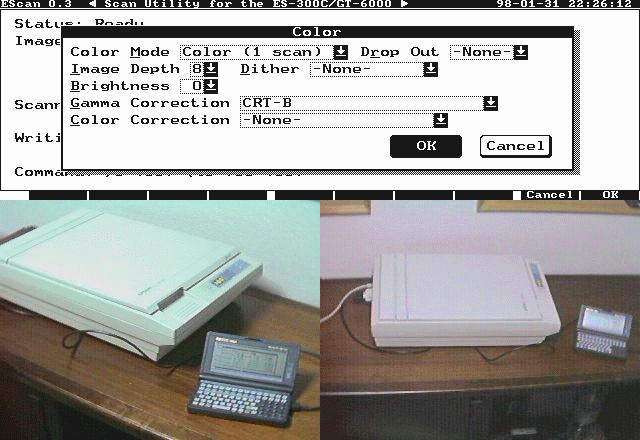
EScan is a scanner utility for the GT-6000/ES-300C scanner from Epson. It controls the scanner and saves the scanned image in BMP, ICN or PCX format on the HP 100/200LX. Copyrighted freeware.
Technical details
- File
escan04.zip- Size
- 37.8 KB
- Format
- .zip
- Year
- 1998
- Added to S.U.P.E.R.
- 1998-02-04
- Files inside
- 7
- Author
- Toshiki Sasabe (Janbe)
- Path
anonftp/pub/escan04.zip
How to install it
What to send to the palmtop saves 93.0 KB
These are the files you need. You can send them from the package contents below.
-
ESCAN.EXM→ A:\SOFT aplicación del System Manager 22.0 KB -
ESCAN.ICN→ A:\SOFT icono, junto a su aplicación 200 B
No need to put
ESCAN.DOC, ESCAN.JPN, ESCAN.C, ESCAN.H, BMPPCX.H:
they are manuals, source code or supporting material. Read them here and save 93.0 KB on a 1 MB disk.
Steps
- Copy ESCAN.EXM to A:\SOFT. It is a System Manager application: register it in App Manager with F2 (Add), giving the full path (for example A:\SOFT\ESCAN.EXM).
- The 200LX takes 8 EXM applications at most. Check with F8 (List) in App Manager: an asterisk in the Status column means the quota is full and you will need MoreEXM.
- The .ICN files are icons: they go in the same folder as their application.
Derived from the package contents and the 200LX conventions. It installs to A: on purpose: C: is a RAM disk and every byte there is memory taken from the system.
The author's instructions
[4] Software installation

  1) After a scan cycle, ESCAN displays the scanned image by
     use of an external program, LxPic.  You need to install
     LxPic for this function to work.  (You can switch off this
     display function, by [Menu] -> Option -> Other)
Literal excerpt from ESCAN.DOC, exactly as it came in the package.
Package contents
Send to my palmtop
The palmtop must be waiting before you press the button, or the transfer will fail. It is the palmtop that announces it is ready, not the other way round.
Your browser cannot talk to the serial port. Direct sending uses the Web Serial API, which only exists in Chrome, Edge and Opera on desktop — not in Firefox, Safari or any mobile browser.
Download the file with the button above and copy it to the palmtop your usual way.